Download Print Friendly Version: English Polish Russian Italian Czech Spanish Hungarian French Swedish German Dutch Chinese
How to Guide - Coating PLUS emulsions
Synopsis...
Sensitising and mixing
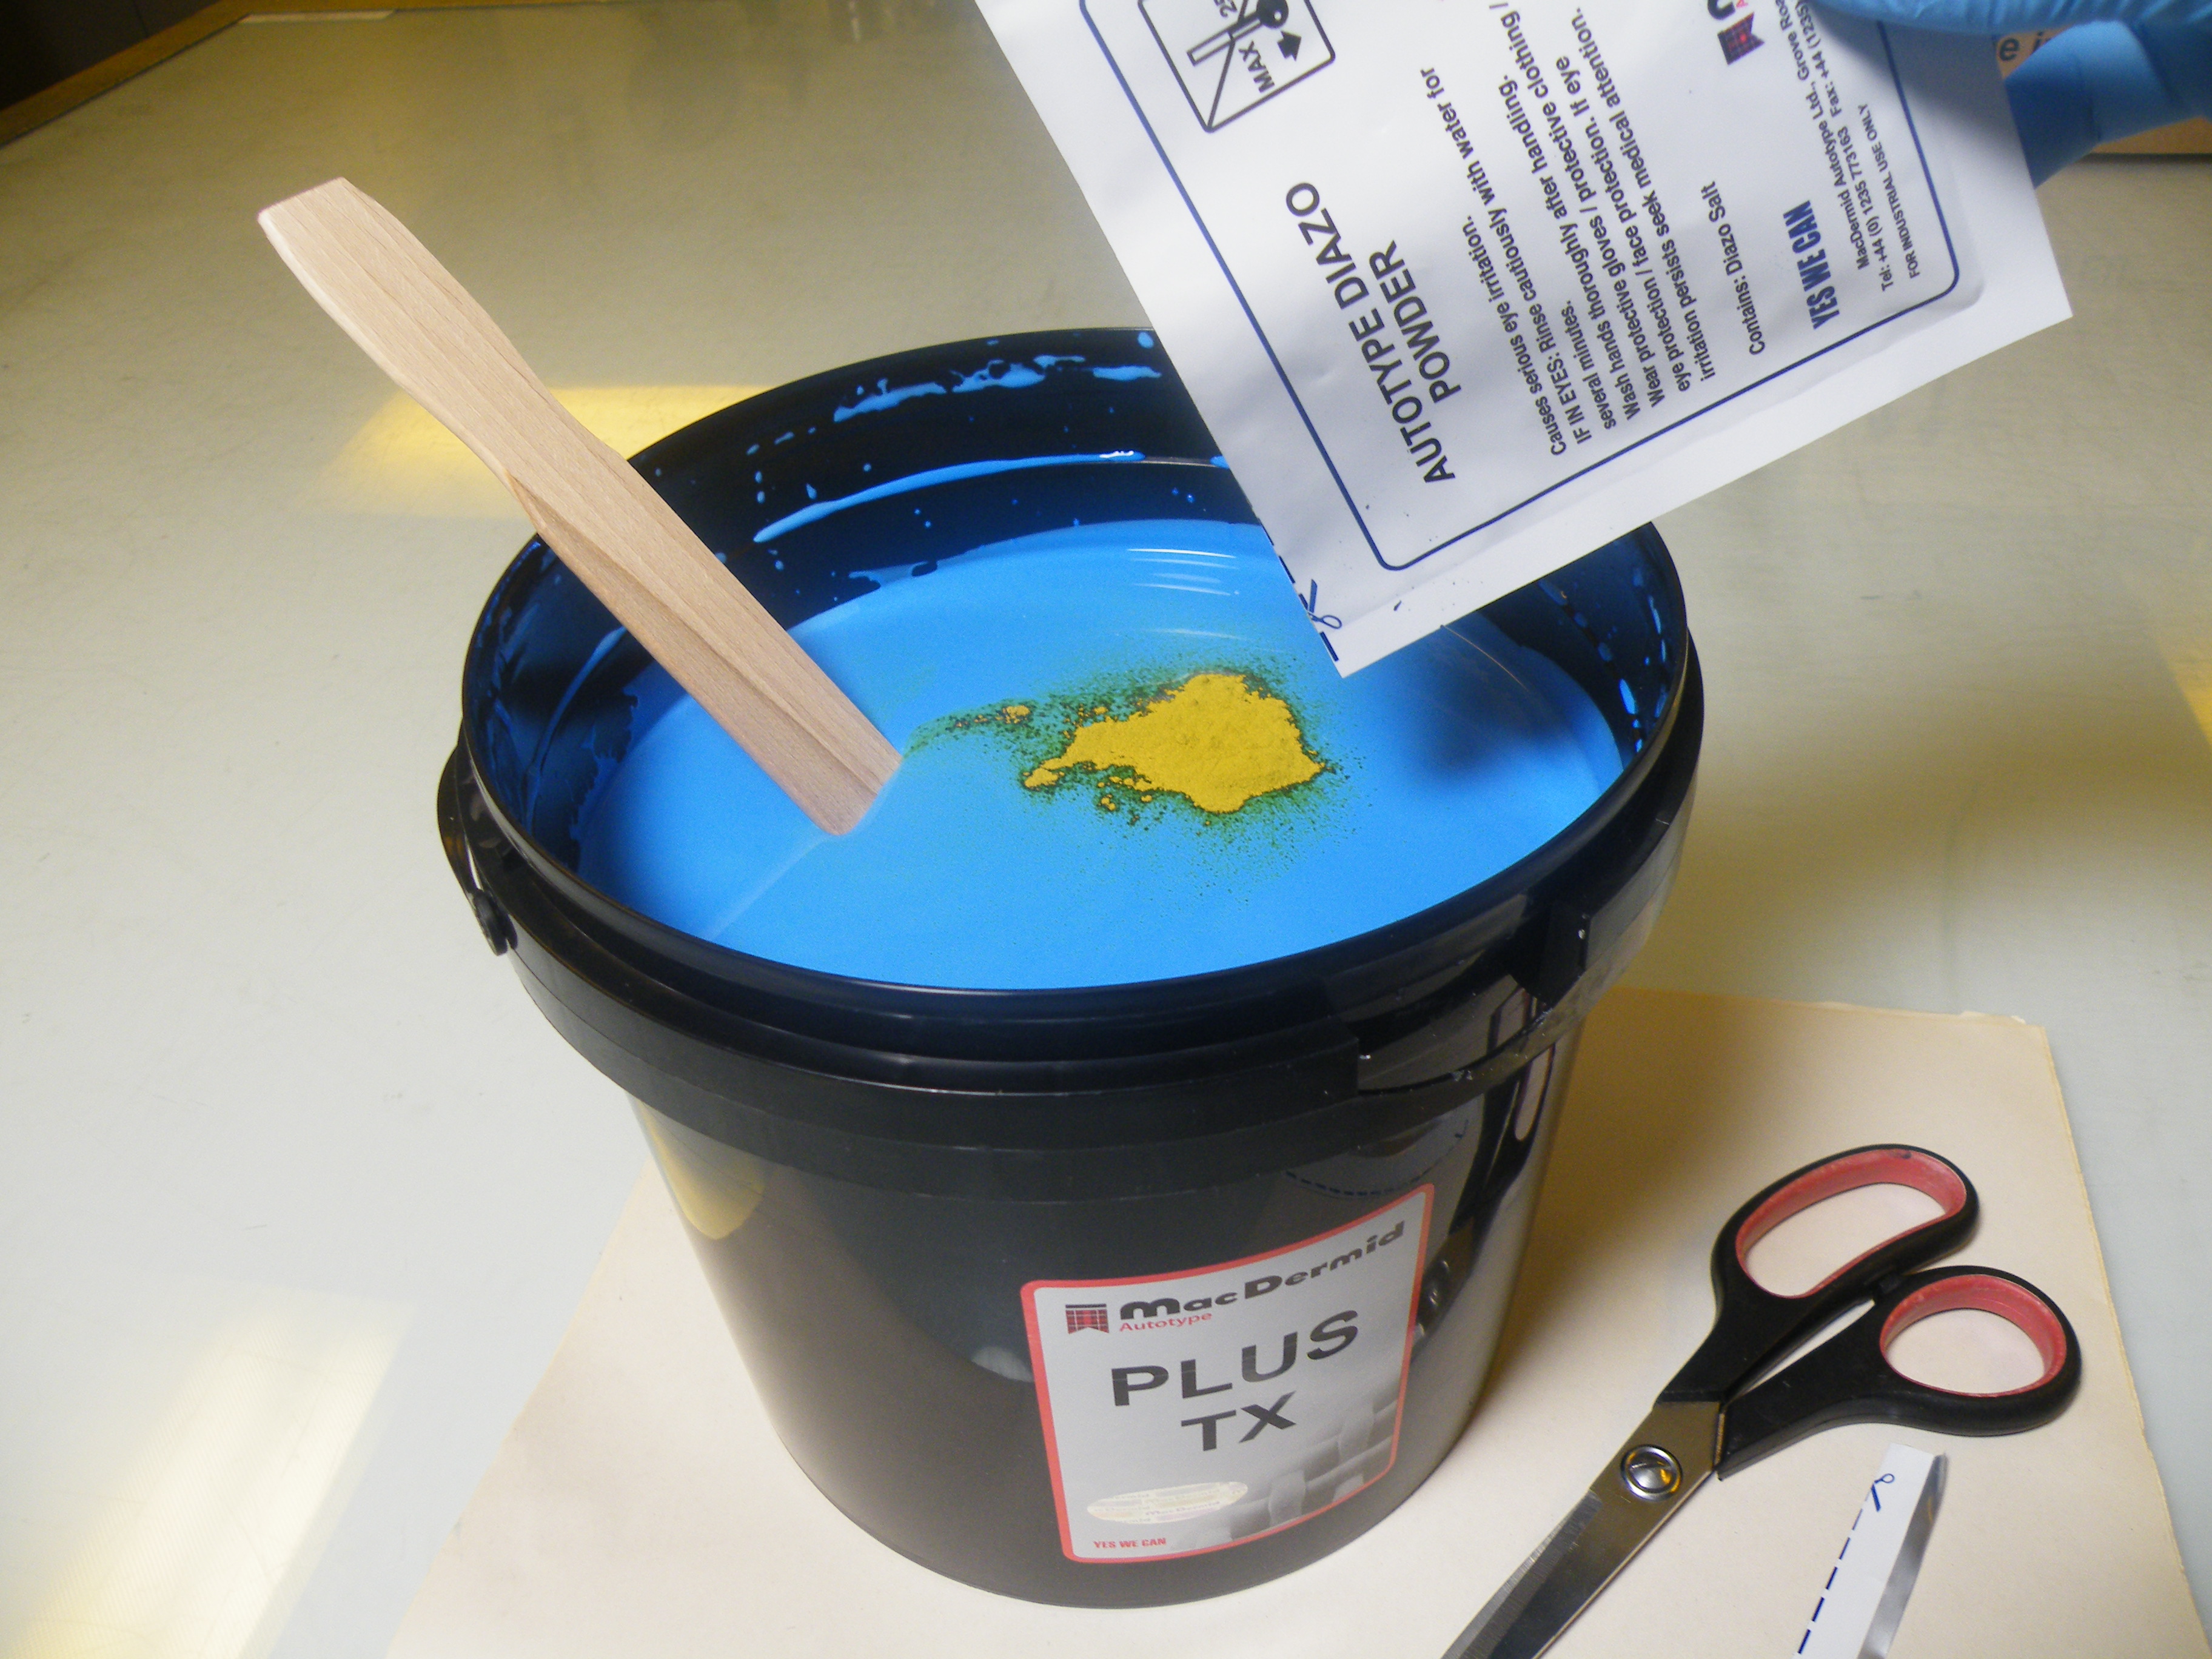
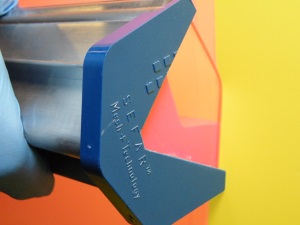
PLUS emulsions are supplied either pre-sensitised, or with a separate Diazo sensitiser. The Diazo powder sachet is designed for direct addition to the emulsion without the need for pre-dissolving in water, this will ensure that the factory controlled viscosity is retained to give you the optimum consistency. This also reduces the risk of contaminated water causing problems. Always use scissors to open the Diazo powder sachet to ensure you get a clean cut. Gradually sprinkle the powder as close to the surface as possible to avoid creating a dust cloud. Use a wooden, or plastic stirrer (never use a metal stirrer because metal particles can cause insoluble spots in the emulsion and a metal spatula can even gouge the inside of the plastic pot causing particulate contamination). Try to ‘fold’ in the Diazo powder to the emulsion to minimise powder loss. The emulsion then needs to be mixed very thoroughly. The emulsion should have an even colour throughout once it is mixed thoroughly. Please note the emulsion must only be handled under yellow safelight. These pictures have been taken in white light for clarity.
Top tip: Always sensitise the emulsion at least 24 hours before it is needed in production to allow the Diazo to dissolve completely and for the emulsion to de-aerate.
One-pot photopolymer emulsions also require mixing prior to their initial use, as the contents may settle slightly during storage.
Once sensitised, the diazo emulsion is reactive to white light and heat and will start to ‘age’. Record the date the emulsion was sensitised. It will last for about 1 month at 20°C and longer if it’s stored in a cool place. Never allow the emulsion to freeze as it will be irreversibly effected.
Basic Coating Techniques
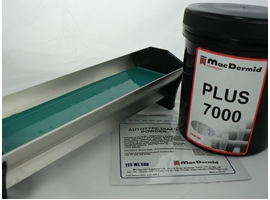
Coating Troughs
It is essential to use a good quality coating trough if you want to achieve a consistent result. The edge of the trough must be straight with no 'nicks' or other damage. The profile of the edge will influence the amount of emulsion deposited with a sharp edged trough depositing less than a rounded edged trough. In general it is better to select a rounded edged trough as this is slightly more resistant to edge damage.
If a very flat stencil is require for the best print definition, sharp edged troughs are sometimes used in conjunction with a round edge trough to apply wet-on-dry face coats to a base layer applied with a round-edged trough. This reduces the surface roughness (Rz) without significantly increasing the stencil profile (EOM).
The trough should be tough enough not to flex during use and be able to stand upright when full of emulsion. A lid to the trough can help reduce airborne contamination and slow down drying in the trough. The following video shows the basic techniques for manually coating a screen.
Coating Basics
The objective of emulsion coating is to deposit an even, blemish free coating in a reproducible way. This can only be achieved if the following parameters are controlled: coating angle/pressure/speed and more surprisingly emulsion level in the trough.
Angle
The coating angle will affect the volume of liquid deposited. Too acute an angle and the trough shoulders will bow the mesh, too great an angle and the trough will scrape rather than coat.
Typically an angle of 15°–30° from the mesh is used and maintaining a consistent angle is the most important. Many troughs have the end caps pre-cut to the appropriate angle.
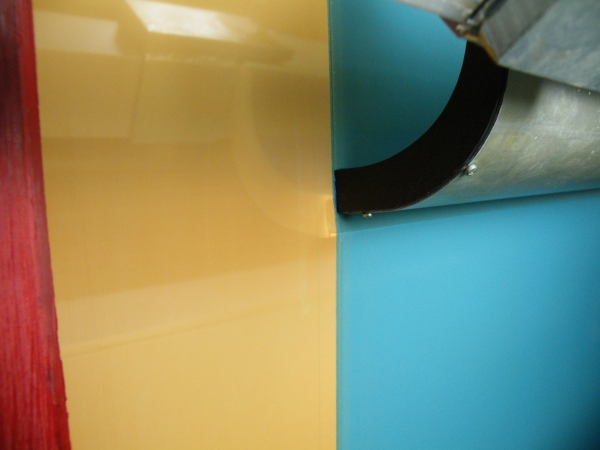
Emulsion level in trough
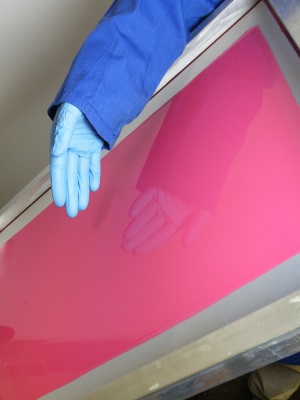
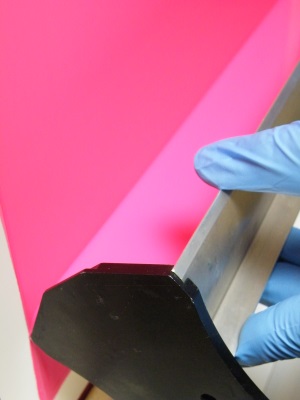
It is surprising but the depth of the emulsion in the coating trough can also have a significant impact on the amount of emulsion deposited with each coat. These two images show the differences in emulsion depth between two specially modified troughs that have transparent inserts in the end caps. The amount of emulsion in contact with the mesh is determined by the fill depth and will influence how much is pushed through the mesh with each coat. It is therefore very important to maintain a consistency of fill depth for critical applications such as four colour halftone printing.
This effect will also occur if the coating trough is not held level, as this too will cause depth differences from end to end and can also be seen as thick edges to the coating. Thick edges are slow to dry and can then offset onto the exposure glass. Thick edges will tend to be underexposed compared to the rest of the stencil and will break down quickly.
Pressure
The coating pressure will affect the volume of liquid deposited. Too high a pressure could potentially damage the mesh whereas too little pressure will lead to uneven coating as the trough does not 'meter' the emulsion.
A consistent pressure is actually more important than absolute pressure. Use sufficient pressure to ensure that the trough edge is in perfect contact with the mesh and that this contact is maintained throughout the stroke. The pressure may have to be increased slightly when using a high viscosity emulsion, to prevent it ‘pooling’ in the centre of the screen.
Speed
Too fast a coating speed will lead to air bubbles due to incomplete encapsulation of the mesh fibres - especially on coarse mesh counts <77/cm (<200/inch). Whereas too slow a speed could lead to high coating thickness due to excessive push through of the emulsion.
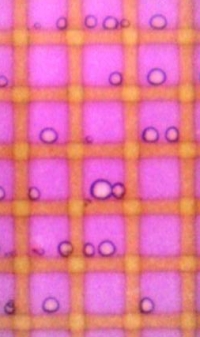
The picture opposite shows how the air bubbles have been trapped on the 'lee' of each fibre during coating. This will create a weak area that is likely to pinhole on long runs.
Coating Regime
The number of coats you apply and the way you coat them is the best way to control the stencil Rz and EOM. For most screen printing applications the objective is to produce a screen that has a thin, flat stencil surface on the print side, with just a thin, fully cured layer of emulsion on the squeegee side. Stencil build comes primarily from applying multiple wet coats from the squeegee side, whilst stencil smoothness comes from applying thin, face-coats of emulsion to the print side.
The typical coating regime for manual coating is to apply 1 or 2 base-coats of emulsion to the print side of the screen which ‘fills’ the mesh. Once the mesh is correctly filled the squeegee side will look glossy.
If the mesh is not filled with the base coat, subsequent squeegee side coats can entrain air. Entrained air in the coating will make the stencil weak and prone to pinholing during printing
After applying the base coats to the print side and whilst the emulsion is still wet, immediately apply ‘1, 2 or 3’ coats to the squeegee side. This pushes the wet emulsion back through the mesh to the print side, leaving only a thin, sealing layer on the squeegee side. There are obviously many variations to this theme depending on frame size, mesh count, image requirements etc. but the principle requirement is to start on the print-side and finish on the squeegee-side.
Top Tips
- Whatever coating regime you choose always finish off the initial wet on wet coatings from the squeegee side. This will ensure that the wet coating is pushed through to the print side where you want it leaving just a thin layer on the squeegee side to provide the durability.
- Quite small variations in the depth of the emulsion in the coating trough can have a significant impact on the coating thickness. Where coating thickness is critical, i.e. four-colour halftone printing, ensure that the troughs are always filled to the same depth for each screen in the set.
- Always wipe the coating edge clean immediately after coating.
Face-coats
All emulsions lose volume during drying as the water evaporates and consequently they shrink back around the mesh fibres to leave an uneven surface. Face-coating is used to fill in these hollows in the uneven emulsion surface on the print side to create a flat stencil surface (low Rz) which minimises sawtoothing during printing. Face-coating can only be applied to screens that have already been fully dried. Typically two face-coats are applied and then the screen is dried again. If an even lower Rz is required, then additional face-coats can be applied. If possible rotate the screen through 90°between face-coats to produce the best results.
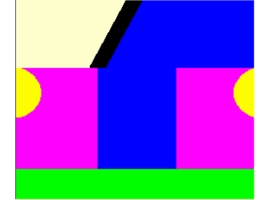
The two pictures opposite, show the importance of a flat stencil surface (low Rz) in producing good print quality. In these schematics, the emulsion is shown as pink, the mesh as yellow and the ink as blue. The ink floods out under the rough stencil surface (high Rz) in the picture on the left, however the ink cannot flood out under the flat surface (low Rz) in the right hand picture giving a high quality print. Please note that the stencil thickness has been exaggerated in these pictures for clarity.
Click on the image opposite to see the ideal coating sequence.

Download Print Friendly Version English Polish Russian Italian Czech Spanish Hungarian French Swedish German Dutch Chinese


