Download Print Friendly Version: English Russian
How to Guide Circuitry Layer Printing
Synopsis...
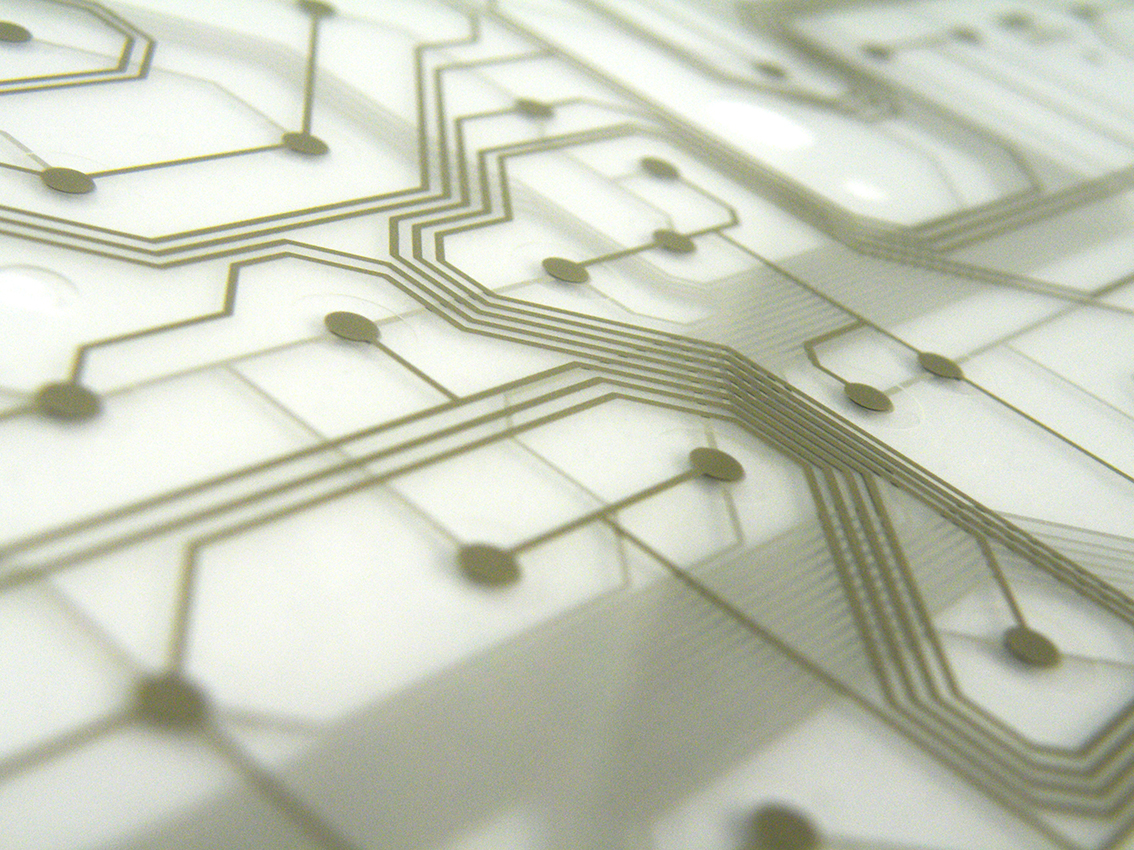
This simple How to Guide will show you the best way to reliably screen print the circuitry layer for a conventional membrane touch switch or printed sensor application.
Objective - To predictably screen print functional inks onto MacDermid Autotype Autostat heat stabilised polyester film using Autotype screen making products.
Recommendations:
Substrates - Autostat is a range of heat stabilised polyesters that have low residual shrinkage at elevated temperatures. To help you select the best Autostat film for your application visit macdermid.com/autotype and enter Autostat into the search field.
Frames - It is critical that the mesh releases from the ink film immediately after the squeegee passes, so high tension mesh stretching (> 25 N/cm) onto a rigid metal frame is required. Autotype’s 2-Part Screen Adhesive will hold the high mesh tensions that are required and will not slip when exposed to Autosolve cleaning solvents.
Mesh - Always choose the highest quality polyester or stainless steel mesh for printing conductive or dielectric inks. The required ink film thickness will ultimately dictate which mesh count to select, however, the table below gives some guidelines on where to start:
It is essential that the mesh is totally clean and free from all ghost images before the stencil is made. Contamination in the mesh will lead to poor ink flow and may even affect the functionality of the ink. Always use Universal Mesh Prep or Auto Degreaser Concentrate to ensure the best mesh preparation possible or use Autokleen Plus to remove any mesh staining from polyester screens if they have been used before.
Printing - To improve the image quality always select a sharp, undamaged polyurethane squeegee blade and to maintain overall dimensional accuracy, use the lowest squeegee pressure possible. Dual durometer squeegees provide an excellent choice, e.g. 90/70 with the 90° the leading edge.
Stencil selection for conductive inks – Controlled profile capillary stencil films are always recommended over emulsion stencils. Capillex CX has been specifically formulated to give a low EOM and low Rz stencil for optimum print reproduction and control with conductive inks. There is a lot more information on the benefits that Controlled profile capillary films offer functional printing on our website.
Top tip:- controlling the EOM (stencil profile) is critical for control, as even a 1µ difference in EOM can give up to a 1µ difference in wet ink film thickness.
If a conventional Capillex film is preferred, then either Capillex 20, 25 or 35 are recommended.
For best edge quality and surface levelling, a slow print speed is advisable for both Silver and Carbon conductive inks as this helps to optimise the flow. Even small print defects that reduce the cross sectional area of the conductive track can have a large impact on their resistance. Good track edge definition also helps to reduce the potential propagation points for Silver migration.
Drying conductive inks
It is imperative that all the solvents are removed from the conductive inks during drying to give the lowest resistance possible, efficient drying is also critical for interlayer adhesion and flex life. Autostat is heat stabilised in our factory to give minimum shrinkage at the high temperatures required to dry conductive inks. Consult the Autostat Technical Data Sheet for more details, this is downloadable from macdermid.com/autotype
Dielectric inks – printing a complete, uninterrupted film for the Dielectric layer is critical. As these layers are typically large negative images, the final ink film thickness will be controlled primarily by the mesh. It is best to avoid high EOM stencils as these can lead to thick edges on the image. If the print speed is too fast this can generate air bubbles in the dielectric layer which will lead to pinholes. Often a double print pass is used for the Dielectric layer to mask any pinholes and provide the desired thickness and performance requirements.
When printing the Dielectric or Carbon tabs, a quality dual-cure direct emulsion such as PLUS 7000 or PLUS 8000 is ideal, or if a one-pot emulsion is preferred, then PLUS 1-SR can be used.
Curing Dielectric inks
Complete curing of the Dielectric is critical for good interlayer adhesion and flex life. Follow the ink manufacturer’s guidelines for their curing recommendations.
How to minimise dust contamination
Dust is impossible to remove from the dried print, therefore prevention is always better than contamination!
- Remove any contamination from the dry screen prior to printing with a low tack roller
- If the print room is not a ‘clean room’, then create a cleaner environment around the press by curtaining. This will also enable you to increase the relative humidity (RH) to reduce static build up during printing. An extractor hood will be required for local exhaust
- The operators should wear clean room clothing
- Always clean the substrate prior to printing using a low tack roller or machine
- Fit antistatic bars/static dissipaters to the press
- Try to restrict personnel movement in the area during printing
- Place tack mats around the press
- Cover the screen during stoppages or remove the ink
- Never return unused ink to the pot
Ink cleaning - press wash: If the screen needs to be cleaned during printing, use Autosolve Press Wash AF or Autosolve Press Wash AF40 and allow the mesh to dry out completely before recommencing printing.
Ink cleaning - archiving: If the screen is to be archived for reuse, it can be cleaned with Autosolve Press Wash AF40 (Flash point 44°C) or Autosolve Press Wash AF55 (Flash point 57°C), paying particular attention not to damage the stencil.
Ink cleaning - decoating: If the stencil is to be decoated, use Autosolve Graphics (low VOC) or Autosolve Industrial AF which are water washable, screen cleaning solvents.
Stencil removal - Ghost images in the mesh will cause defects in the print, therefore to get the best results use Autostrip stencil stripper followed by Autokleen Plus, low caustic haze remover.


